3 Steps in Washing Dishes: A Complete Guide to Getting Your Dishes Sparkling Clean in 3 Easy Steps
Have you ever struggled to get dishes truly clean after washing them by hand? Do sports, film, and leftover food particles still seem to cling to plates, utensils, and cookware no matter how much you scrub?
You’re not alone – hand-washing dishes can be tricky. Unlike dishwashers which use very hot water and strong detergents, doing dishes by hand relies more on your elbow grease.
But with the right technique, washing dishes by hand can leave them as clean as any machine. Read on to learn the simple 3 steps in washing dishes method to get every dish, pot, pan, and piece of cutlery sparkling every time.
Why Bother Washing Dishes by Hand?
With today’s modern conveniences like portable dishwashers and durable plates and cups made to withstand the dishwasher, why bother hand washing at all? Here are some top reasons you may want to keep this classic cleaning skill handy:
- No dishwasher – If your home or apartment doesn’t have a built-in dishwasher, hand washing may be your only option outside of expensive replacements every time you use a plate or fork.
- Save money – Running a dishwasher uses more water and electricity compared to quick hand washing sessions.
- Clean delicate items – Many finer items like good crystal glassware, decorated china dishes, cast iron pans, and precious family heirloom silverware can’t withstand dishwasher temperatures and detergents. The only way to safely clean them is by hand.
- Green living – Washing a few items as needed rather than running full dishwasher loads cuts down on energy use and your environmental impact.
- Therapeutic experience – The hands-on work of hand-washing dishes can be an almost zen-like stress reliever after a long day – no screen time required!
Dishwashing Supplies You’ll Need
While technique matters most, having the right gear makes washing easier. Stock your sink-side with:
- Mild dish soap – Look for formulas without added fragrance or moisturizers which can leave a residue. A dishwashing detergent designed for hand washing is ideal.
- Sponges – Have an assortment including soft varieties for glassware and more abrasive types for tough cooked-on messes.
- Dish brush – Helpful for scrubbing bits off flatware and around pan edges.
- Drying mat – A microfiber mat or rack lets dishes air dry thoroughly.
- Towels – Absorbent clean towels become necessary if air drying space is limited.
Optional extras like stainless steel soap pads, a separate rinse basin, and rubber gloves also come in handy for serious grime.
Step 1: Prepare the Sink
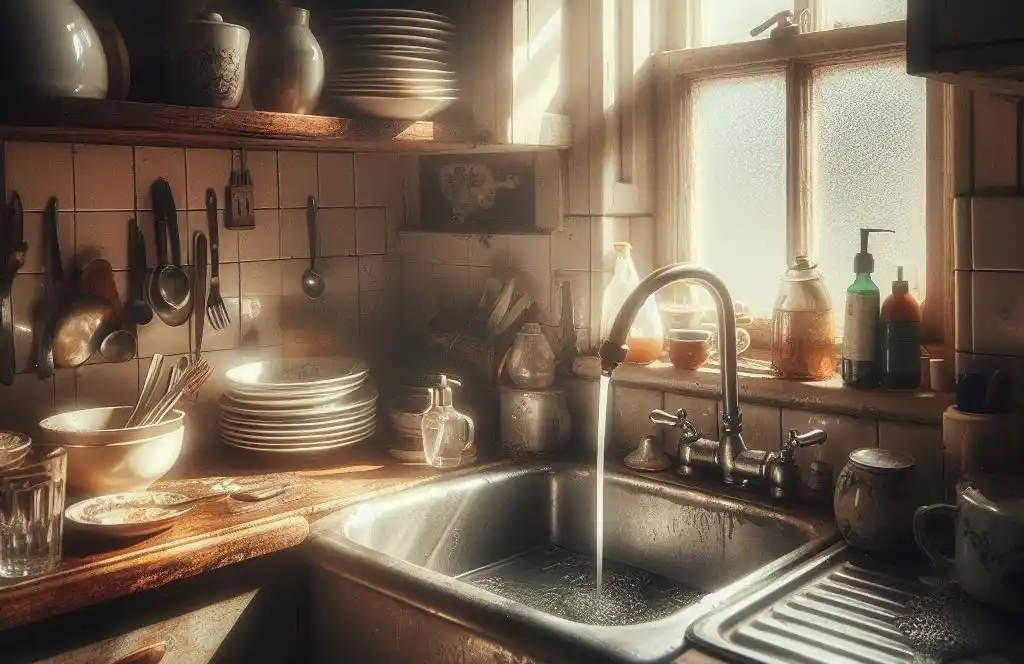
You’ll wash most effectively with a dual basin sink – one side for washing, the other for rinsing. If your sink is single, you can use a plastic tub to rinse water instead. For the wash basin:
- Clear dishes or debris already in the sink
- Add hot water nearly to the top
- Add a dollop of dish soap – Just a small squirt to start creates suds
- Let the mix sit a minute before adding dishes so the soap dissolves
The wash basin should fill with several inches of hot, sudsy water. The rinse side needs only clean, lukewarm water.
Set up your drying area nearby with a mat or towel for cleaning dishes. Finally, don protective rubber gloves if desired.
Step 2: Wash and Rinse the Dishes
With your sudsy sink ready, it’s time to get scrubbing!
- Remove large food bits – Give plates a quick swipe with a paper towel or soft brush to remove clinging particles before submerging.
- Let dishes soak briefly – Allow caked-on food residue to soften for easier removal.
- Wash glasses and lightly soiled items first – They’ll need less scrub time.
- Apply elbow grease – Use brushes, sponges, and scouring pads to remove stuck food. Change scrubbers often to prevent redepositing grime.
- Take care with nonstick and delicate items – Use soft sponges and plastic brushes to avoid scratching.
- Rinse thoroughly – Remove all soap suds and food debris under hot rinse water.
- Inspect dishes – Check for lingering grease or food, especially in cracks and crevices. Re-wash as needed.
As you empty the basin, replenish hot wash water and dish soap to maintain suds. Change out dirty rinse water as needed too.
Pro Tip: Save heavily soiled pots and pans for last when wash water is at its dirtiest. Use the 2 Sink Dishwashing Method for an assembly line workflow.
Step 3: Dry and Put Away Dishes
Drying is an important final step not only to prevent wet messes but also spots and soap film.
- Allow dishes to air dry completely on a rack or towel rather than wiping dry. Remaining moisture can redeposit grime.
- To avoid water marks on delicate glassware, carefully hand dry these items with a fresh soft towel as air drying finishes.
- Change towels often so they don’t transfer grease while drying.
- Put away dry dishes. Don’t allow them to collect and potentially re-collect dust or dirt before the next use.
Extras for Stubborn Dish Messes

Some cooked-on food messes just won’t budge with regular washing. To remove them without damaging dishes:
- Soak – Letting dishes sit for 15 to 30 minutes in hot soapy water allows grime to rehydrate for easier removal.
- Use baking soda – Mix a thick paste of baking soda and water and apply to stuck-on food. Let sit before scrubbing. The mild abrasive cuts grease.
- Try citrus – Rub a fresh lemon half over tough spots like baked-on cheese then let sit before washing as usual. The acid cuts residue.
- Spot scrub – For isolated spots, rub gently with a brush or non-scratch scrub pad.
- Easy-Off method – Lightly coat the entire dish surface with a non-toxic oven cleaner foam. Let sit for 30 minutes before washing away the mess and cleaner residue.
Common Dishwashing Mistakes to Avoid
Even using proper hand-washing techniques, getting dishes truly clean still takes practice. Watch out for these common pitfalls:
- Rushing – Quick dunk without thorough scrubbing fails to remove all debris so rinse water just redeposits grime back onto “clean” dishes.
- Water temperature – If wash water becomes too cold and rinse water too hot both cleaning and sparkling rinses suffer.
- Skipping the wipe-down – Neglecting to wipe all crumbs and globs off dishes before submerging just moves food around the sink.
- Overcrowding – Packed full sinks prevent water and soap from contacting every dish surface for thorough cleaning.
- Reusing dirty wash water – Grimy gray sink water gets dishes dirtier with each round. Refresh sinks often.
- Air drying disasters – Piled high haphazard drying leads to breaking delicate items and potential watermarks.
Slow down and take time to fully clean each dish. Refill sinks, replace scrubbers, wipe counters, and reset drying spaces to start fresh each washing session. Consistent attention to detail prevents recurring messes.
Top Tips for Effortless Dishwashing Sessions
While the basic wash, rinse, and dry method gets the job done, insider tricks make the whole process faster and frustration-free.
- Wash glassware right after use to avoid staining and stuck-on food.
- Cover half-washed piles between sessions to limit dust and pests getting into clean dishes.
- Start soaking pots as you empty them after dinner to cut scrub time later.
- Use flat plastic bins rather than precarious towers for draining and organizing by item type – cups with cups, plates with plates.
- Buy multiples of oft-used items like coffee cups and small plates to extend time between washing loads.
- Attach an empty soda bottle to your faucet filled with a mix of water and vinegar. Rinsing with the acidic solution removes soap film and mineral deposits to leave glasses and silver sparkling.
- Line the bottom of your sink or tub used for washing with a rubber shelf liner. The extra grip keeps delicate crystal and china from slipping and breaking during cleaning.
Putting a bit of planning into your dishwashing makes better use of your limited sink-side time.
FAQs: 3 Steps in Washing Dishes
Still, worried your dishes aren’t getting clean enough or looking for ways to simplify washing even more? Here are answers to some frequently asked questions:
How do I remove the cloudy film on glasses and dishes?
The cloudiness comes from the mineral residue in water mixed with soap. For sparkling dishes, fill your rinse basin with a mix of 1 cup vinegar plus water. The acid cuts the film. Or, rub items with lemon juice before the final rinse.
What’s the best way to wash greasy dishes like pans?
Grease-dissolving dish soap, hot water, and extended soaking time all help lift oil before washing. Use a brush or abrasive sponge on stuck-on bits. Rinse especially well since grease clings to other dishes if any traces are left.
How should I wash fancy antique or plastic dishes?
Use soft sponges without scratchy scouring sides in gently swirling motions to avoid chips and scratches for breakable china and crystal. Handle with care moving in and out of water too. For lightweight melamine and plastic dishes and cutlery choose medium-temperature water to avoid warping – not scalding hot.
What about cast iron pans and seasoned cookware?
While soap won’t harm them, the coarse scrubbing needed risks removing carefully built-up seasoning. Instead, clean by pouring salt directly into hot dirty pans placed back on the stove. The heat dissolves residue for wipe-away cleanup.
Why do some plastic items like straws and storage lids get a slimy texture?
That unpleasant grimy coating comes from a reaction between food residue and harsh dish soap chemicals. Avoid it by giving plastics a quick daily wipe-out rather than full washes. Soak tougher gunk in diluted vinegar and water before a delicate scrub.
Key Takeaways for Sparkling Clean Dishes Every Time
While skipping the dishpan in favor of paper plates may be tempting on busy nights, mastering proper dishwashing techniques ensures your family heirloom china and chef’s knives stay spot-free for generations to come.
Keep these key tips in mind:
- Prep your wash and rinse sinks first before washing.
- Remove large debris before submerging dishes.
- Wash delicate glass first, and big pans last.
- Rinse completely with clean hot water.
- Allow to air dry fully before putting it away.
With the right supplies, some elbow grease, and these simple methods, you can look forward to shining clean stacks of dishes – no dishwasher required!
Still, struggling with stuck-on messes or curious for more sparkle-inducing secrets? Ask any lingering questions in the comments below!

