5 Steps in Washing DishesWhile washing by hand: A Step-By-Step Guide to Hand Washing Dishes and Utensils The Right Way
Are you tired of ending up with grimy dishes covered in grease and leftover food particles even after washing them? Do spots, streaks, and filmed-over dishes leave you sighing in frustration over the wasted time? Unclean flatware, glasses, pots, and pans breeding mold and bacteria are a concern as well. Then this 5 steps in washing dishes detailed guide is just for you!
Read on to learn the full proper technique for washing dishes by hand in five simple steps. Discover tricks used in hand washing dishes by professional cleaners and kitchen staff. Hand washing allows you to thoroughly clean even the dirtiest casserole dish or burnt bottom of the pan in any home kitchen. Follow these steps in washing your full load of dirty dishes. you’ll end up sparkling and 100% germ-free every time!
Table of Contents
Why Properly Washing Dishes by Hand is So Important
Kitchen items like dishes, flatware, serving platters, baking sheets, pots and pans, mixing bowls and more collect grime, food particles, oils and bacteria with continuous use. Dumping them straight into your dishwasher leads to:
- Permanently filmed or etched glassware with a foggy look
- Set in stains on your best china or wedding silver
- Lingering food scraps even after the full wash cycle
Hand-washing dishes in the sink lets you thoroughly rinse away all that built up mess first. Doing so before loading the machine allows your detergent to work far more effectively. Your costly dishwasher also lasts much longer without needing to work overtime scrubbing stuck-on gunk.
Hand washing dishes properly is also vital any time you don’t have an automatic dishwasher available while:
- Camping or using a rental vacation property kitchen allows you to wash silverware.
- Washing up a few items quickly by hand
- Clearing up after big family dinners or holiday gatherings
So let’s get into these foolproof techniques step-by-step!
Dishwashing Supplies You’ll Need
Before we dive into our dishwashing process, you need to gather together:
- Dishwashing liquid (like Dawn) or powdered detergent
- New, clean dish sponges and scrub pads
- Drying mat, rack or ample counter space
- Clean towels or rags
- Set of plastic brushes with long handles
- Dishpan(s) or scrubbers for washing by hand. or divided sink basin
- Dry potholders, oven mitts, or even silverware.
- Step stool (to comfortably reach a deep sink)
Step #1) Filling The Sink Basins and Organizing Dishes
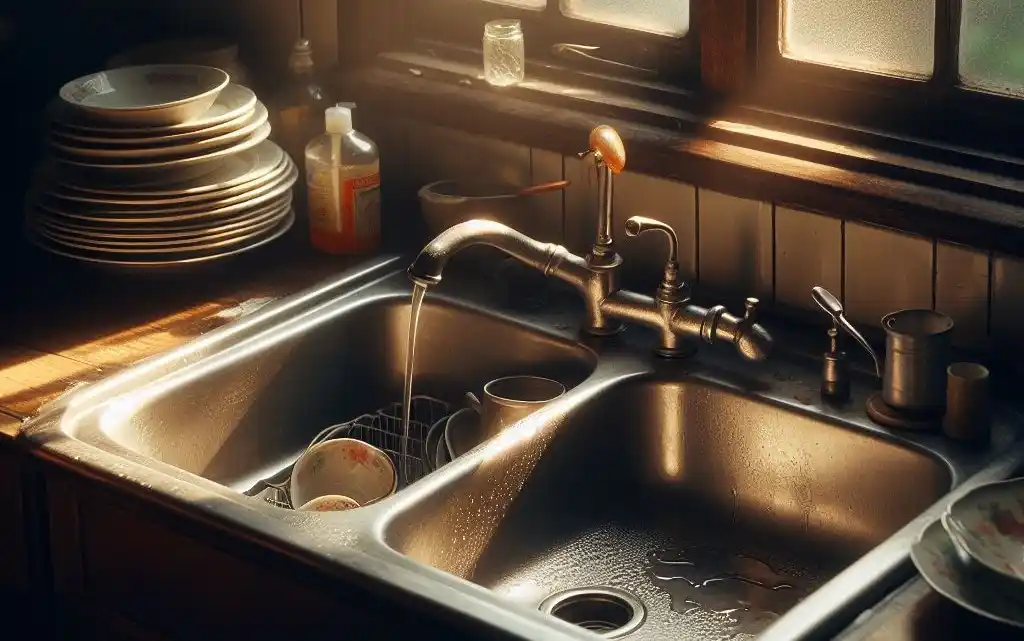
The first two steps in our hand-washing dishes guide happen before adding soap or touching a sponge!
You should always:
- Fill the sink basin(s) with hot clean water first
- Carefully group together any piles of awaiting dirty dishes
Fill the Sink Basin(s)
Having ample hot water on hand is key for loosening up dried food residue during washing.
- For a double sink, fill one full basin with hot clean water for washing
- Fill the second basin with hot clean water later for the final rinse stage
- If you only have a Fill sink to transform single sink for washing by hand. basin, fill that with hot soapy wash water first
- Then unplug and carefully empty the sink to refill for rinsing rinsed dishes
The wash basin should be filled with very hot, clean water up to the level of your submerged dishes. Some dishwashing experts recommend filling your basin and then letting the hot water rest for up to 15 to 30 minutes. This allows time for any food particles or oils to soften up.
Organize Your Dirty Dishes
While the wash water basin sits, take stock of what all needs washing.
- Carefully scrape any loose food bits or scraps into your trash can or compost bin
- Group all dishes together on the counter according to size and how dirty they are
In general, you should organize dishes as such:
- Crystal, china, and delicate glassware
- Lightly soiled flatware, cups, and saucers
- Heavily soiled pots, pans, and baking sheets
- Dishwasher-safe plastics and silicone spatulas/utensils
Piling like items together allows you to hand wash dishware requiring extra care first. More durable items can soak in sudsy wash water until their turn. Let’s move on to creating those suds!
Step #2) Washing the Dishes in Hot Sudsy Water
Now comes the actual hands-on dishwashing work!
The key here is letting your hot soapy water do most of the cleaning before you ever grab a scrub pad.
Adding Dish Soap
Once your basin is filled with piping hot water, squeeze a generous amount of dishwashing soap concentrate into the bottom.
- The standard advice is about 1/4 cup of soap per sink basin
- Less for just a few items, more for engrained baked-on messes
- Quickly swirl the water gently to encourage sudsing
The soap helps lift oil and grease-free while sanitizing. But avoid over-sudsing your water or you’ll never fully rinse away soap scum later.
Submerge Dishes Fully
With hot sudsy water ready, start lowering your grouped stacks of dishes gently into soak.
- Use care not to splash dirty water and grime onto your clothing
- Water should cover all dish surfaces fully
- Add or remove water so items float gently without crowding or clanging together
Allow even the toughest stuck food residue time to soften so it can wash free easier later.
Let Heavily Soiled Items Soak
Especially dirty pots, pans, and bakeware will need 15 to 30 minutes of full soak time once submerged.
- The hot water softens cooked-on oils and loosens burned food bits
- Longer soaking saves your efforts in scrubbing later!
- Just top off the basin with additional hot water as the temperature drops
So with our basics steps done, your dish sink should look something like this:
Now set your timer and let the dishwashing magic happen on its own for a bit…
Step #3) Scrub and Wash Each Item
After a good soak for badly soiled items, it’s time to start gently scrubbing dishes clean. Follow these guidelines to keep your wash water effective longer:
- Wash interior dish surfaces first, then outer sides
- Choose lightly stained serving dishes, cups and flatware first
- Finish off with heavily encrusted pots and pans at the end
Wash From Least to Most Soiled
Remember, you organized your stacked dishes by how much scrubbing they likely needed. Follow that grouping order as you wash your dishes:
- Crystal glasses and delicate china
- Cups, saucers, lightly stained flatware
- Mixing bowls, baking sheets, custard cups
- Heavily baked-on pans and pot bottoms
This keeps your wash water cleaner longer and also minimizes the risks of damaging more delicate items during intense scrubbing later.
Use Soft Scrub Pads for Glassware
Crystal glasses, mugs, and delicate china should be gently hand-washed with soft scrub pads only.
- Avoid abrasive scouring pads or metal mesh scrubs that may damage your silverware.
- Those can create faint scratches that make glassware appear fogged and etched later
- Repeated scouring can slowly damage decorative edges and patterns on fine china dishes over time
Make sure water fully covers all surfaces and allow soap suds to soften stains first. Change to clean wash water if necessary between loads.
Scrub Heavily Stained Serving Dishes
Lightly stained plates, bowls and flatware are simple to clean after soaking off any food remnants. But some serving pieces might have more engrained sauces or food coatings needing a bit of muscle.
- Use a stiff nylon scrub pad for stuck on cheese or other food
- Allow the hot sudsy water to soften before rubbing firmly
- Metal serving utensils and pans often need some elbow grease too
Just be cautious of anything with more delicate decorative edges or patterns.
Focus on Baked-On Bottoms
Finally, focus cleaning efforts on removing stubborn baked or burned on stains from cookware.
- Use plastic pan scrapers or brushes to gently free stuck particles before scrubbing
- Allow your hot soapy soak to do the real work loosening grime before going at it
- Scour inside and outside of pots and pan bottoms until fully freed of all debris
Having clean, food-free cookware prevents cross-contamination the next time you cook. So get them squeaky clean!
Step #4) Fully Rinsing All Dishware
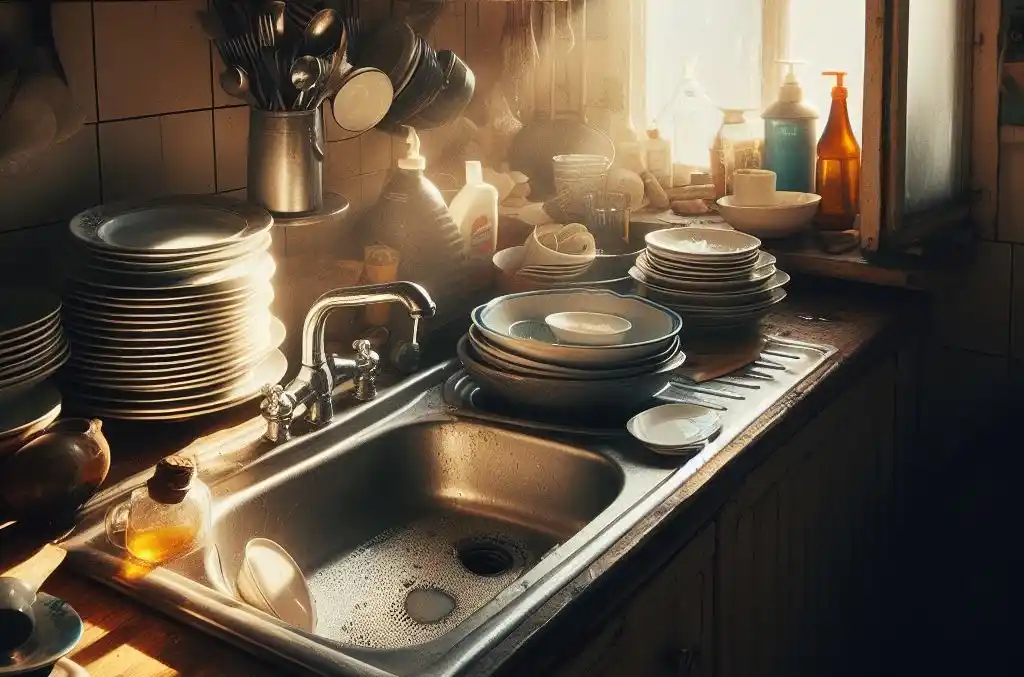
With all your plates, glasses, silverware, and pans scrubbed hot soapy clean, using a scrubber, the final rinsing step is vital. Why?
Residual greasy dish soap and grimy food bits still cling after washing. You MUST rinse fully with very hot fresh water to:
- Send suds and stuck bits down the drain for good
- Avoid dull, irritating dish soap film ruining glasses/dishes
- Sanitize with heat and prepare for air drying
Rinsing thoroughly is a two part process…
First Hot Water Rinse
First, take your freshly washed plates, cups and flatware:
- Submerge or hold each under very hot, running water
- Send bits of food, grease and soap suds swirling away
- Take your time until the sink basin runs fully clear
It often works best to:
- Set items in a clean dish rack in the basin
- Run very hot water to overflow rinse the full rack
- Lift out rack and dump rinse water to repeat as needed
Second Rinse in a Clean Basin
For the fullest rinse, utilize a second sink basin filled only with hot clean water (if available).
- Or empty your wash basin after the first rinse
- Refill the emptied basin with hot clean water
- Submerge and gently swish items to finish rinsing
Doing so prevents any lingering bits of food or detergent from re-sticking during the final rinse stage.
Step #5) Air Drying Your Sparkling Clean Dishes
After thoroughly rinsing away all signs of food, oils, and soap with hot water, your cleaning 101, the final task is drying all your clean dishes and silverware before putting them away.
Air drying options include:
- Dish drying racks that collect drips neatly
- Absorbent towel layers carefully arranged on countertops
- Openly spaced along cupboard counters or tables allows you to wash and rinse items first.
Drying best practices include:
Allow Ample Airflow Circulation
- Arrange glasses, plates or bowls so air flows between each item freely without crowding
- Prop up bowls on towels to allow evaporating all around
- Space silverware pieces apart on drying racks rather than piling them up, a piece of advice from cleaning 101 on Quora.
Circulating air is key for moisture to fully evaporate and not allow new mold growth!
Use High-Quality Clean Towels
Only use fresh, highly absorbent (and preferably white) towels or rags beneath dishware while drying.
- Check often for dampness to rotate in dry spots or new towels
- Avoid colored and older ragged towels that shed lint onto dishes!
Rotate where dishes make contact to prevent any soap film transfer stains left behind on the next cycle.
Check the Bottoms of Plates and Bowls
Don’t assume the bottoms of upturned dishes dried fully while you finished washing up.
- Carefully check bottoms are moisture-free before stacking
- Use a fresh towel to wipe any lingering dampness
- Allow extra time before cupboard storage if needed
Trapped moisture breeds problematic mold and bacteria!
Prevent Water Spotting on Glassware
Dampness drying on fine glassware and silverware leads to telltale spots and cloudy film. Prevent this by:
- The practice of gently shaking off any surface droplets right after rinsing should be a part of your cleaning 101.
- Allowing glassware extra drying time fully upside down
- Using microfiber towels beneath glasses to prevent watermarks
Your crystal and stained glass pieces will dazzle like new!
Top Tips for Effortless Dishwashing Every Time
After mastering these basic dishwashing steps, make the entire cleaning process faster and frustration-free with these additional pointers:
- Presoak the dirtiest bakeware and pans in the sink while finishing meal cleanup
- Use empty dishwasher racks like giant drying racks after hand-washing a full load
- Consider adding specialty soaking concentrate gels for burnt-on messes overnight
- Always dump out cloudy, grease-filled wash water and refresh with clean hot water between loads
- Double the bottoms of stacked plates and bowls are fully dry before putting them away to prevent mold growth
- Change out slimy cleaning rags, sponges, and scrub brushes frequently to prevent spreading germs
- Invest in quality scrub pads that won’t fall apart quickly with heavy usage
- Upgrade your kitchen sink configuration to have doubled basins or a divided deep sink for easier washing
Ready for Scrub-Free Dishwashing? Consider a New Dishwasher!
As much as we’ve learned proper sink dishwashing skills, it’s still very labor-intensive work! Made up of pumps, reservoirs, spinning arms, and intense spray jets, today’s smart dishwashers use precision cleaning technology to:
- Blast away all signs of food debris inside and out
- Rinse away soap film for spotless crystal and glassware
- Sanitize with extra hot temperatures or germ-killing steam
- Dry everything without fussing over towels or their placement
Other helpful features include:
- Extra height for beer mugs and wine glasses
- Third upper rack for utensils, lids, and more
- Flexible tines, racks, and consoles to fit pans and platters
- Top control electronic panels with memory setting convenience
- Energy efficient cycles to cut electricity and water waste
We can find you the perfect built-in or portable dishwasher tailored for your family’s needs, style, and budget. Contact us anytime for recommendations or answers to all your appliance questions!
Let’s Review The Essential Dishwashing Steps Together
There’s admittedly a lot to remember as far as the proper order and technique for hand washing a heavily soiled load of dishes. So let’s review the key basics:
Step 1: Fill Your Sink Basin(s) First
Wash Basin: Hot, clean, and filled enough to submerge your dishes fully. Let the heat start loosening up baked on grime for 15-30 minutes.
Optional Rinse Basin: Fill the second sink basin, tub or empty wash basin later to fully rinse the soap clean.
Step 2: Add Dish Soap to Hot Water Before Adding Dishes
Remember: excess suds that can’t rinse free later guarantee soap scum residue. About 1/4 cup of soap per full basin.
Step 3: Wash Dishes In Soaking Order from Clean to Dirty
Crystal first, fine china next, then flatware, durable stoneware, and finally the heaviest stained bakeware and bottoms of pots/pans.
Step 4: Rinse Away All Soap, Oils and Lingering Food Debris
Add scrubber as an item first to improve cleaning when doing two hot rinses using a separate or refilled second basin, if possible. Drain away grimy wash water fully before rinsing.
Step 5: Allow Airflow Circulation to Dry Dishes Without Spotting
Whether a drying rack, propped and rotated towels, or open cupboard counters. Avoid piling stacks of still-wet pieces that prevent evaporation.
You’ve made it through dishwashing boot camp – so it’s time to test your skills! We wish you the sparkling cleanest baking sheets, crystal glasses, and flatware untainted by streaks or film from now on. Contact us if you’d like recommendations on timesaving dish soap tools or upgrading appliances in your kitchen arsenal. Happy washing!
FAQs
Q: What’s the ideal temperature for washing dishes?
While personal preference plays a role, warm water is generally considered the sweet spot. Aim for a temperature comfortable for your hands, typically around 110°F (43°C). Too hot can burn, Washing machine set to too cold doesn’t effectively cut grease.
Q: Is pre-rinsing necessary?
Absolutely! Scrape off food scraps with a spatula or paper towel before diving into the suds. This prevents clogs, keeps your washing water cleaner, and makes scrubbing easier. Think of it as setting the stage for a sparkling performance.
Q: Is it okay to mix hot and cold water while washing?
For most situations, warm water will suffice. However, if you’re dealing with greasy pots and pans, a quick blast of hot water at the end of the rinsing cycle can help solidify and remove stubborn fats. Just be careful not to burn yourself!
Q: What’s the best way to tackle greasy dishes?
For greasy cookware, pre-soaking in hot, soapy water for 15-30 minutes can work wonders. Baking soda can also be your grease-cutting ally. Sprinkle some on a sponge and scrub away like a dishwashing warrior!
Q: Should I wash dishes by hand or use the dishwasher?
Both methods have their merits. Dishwashers can be energy-efficient and save time, but they may not be suitable for delicate items or heavily soiled dishes. Handwashing offers better control and customization, but cleaning 101 requires more effort. Ultimately, the choice depends on your specific needs and preferences.

