7 Steps in Washing Dishes: A Step-By-Step Guide to Sparkling Clean Dishwashing
Washing dishes by hand may seem like a mundane chore, but it’s an essential kitchen skill that everyone should master. Properly hand-washing dishes helps remove grease, bacteria, and leftover food particles, allowing you to use clean dishware for future meals.
While using a dishwasher is convenient, not everyone has one in their home. Knowing to wash dishes by hand keeps your cookware, plates, utensils, and glassware sparkling when you don’t have a machine to rely on.
This comprehensive guide will walk you through the 7 steps in washing dishes efficiently by hand. We’ll cover everything from filling your sink correctly to drying methods that prevent spots and film. With some basic equipment and these dishwashing techniques, you can keep your dishes shining like new after every use.
Table of Contents
Why Learn Proper Hand Dish Washing?
Before we dive into the step-by-step process, let’s look at some of the top reasons to master washing dishes by hand:
- Removes bacteria – Hand washing allows you to thoroughly scrub away germs and bacteria that have accumulated on dish surfaces. This helps prevent the spread of illness.
- Eliminates food residue – From sticky sauces to crusty baked-on food, hand washing lets you directly attack leftover debris that your dishwasher might miss.
- Cleans delicate items – Many fragile glassware and antique dishes need gentler cleaning by hand instead of the harsh dishwasher environment.
- Saves money – You avoid the cost of dishwasher detergent and the energy needed to run repeated dishwasher cycles.
- Works during power/machine outages – You can keep your cookware and dishware clean no matter what with this tried-and-true manual method.
Now let’s get into the nitty-gritty steps so you can become a hand-washing pro!
Equipment You Need for Washing Dishes by Hand
Before we start scrubbing, you need to stock your kitchen with the right gear:
- Dish soap – Look for formulas that help cut through grease. Dishwashing liquid is better than hand or body soap.
- Sponges – Sponges provide gentle scrubbing power for most dish surfaces.
- Dish brush or scrubber – For stuck-on food, a brush or scrubber makes it easier to remove residue.
- Drying towel – A lint-free towel or cloth dedicated just for drying is ideal to prevent streaks.
- Dish rack and drain board – These provide space for dishes to cleanly drip dry.
- Hot water – Fill your sink or basin with the hottest water possible to help lift grease and debris.
- Gloves – Waterproof dish gloves protect your hands and give you a better grip.
Step 1: Prepare Your Dish Washing Station

After each meal, you likely have a pile of dirty plates, glasses, silverware and pots accumulating around your kitchen. Before washing, you need to set up your station:
- Fill your sink with hot, clean water (or use a dishpan if needed). Water temperature should be at the highest your hands can stand to help cut grease.
- Add a good squirt of dishwashing liquid then swirl the water around to create suds. Grease-cutting formula dish soap works much better than regular hand soap.
- Make sure you have a drain setup so you have an empty basin for the rinsed dishes. Either plug your sink and let it fill on one side, use a basin, or take advantage of a divided double sink.
- Have your dish rack, drain board or plenty of towel space ready nearby to set your clean items after washing and rinsing.
With your washing zone now good to go, let’s start scrubbing!
Step 2: Remove Excess Food
Before dunking your dirty dishes into the soapy sink, be sure to scrape, wipe or rinse off any large leftover food pieces into the trash can with used paper towels.
Getting rid of excess goop first means the food won’t sit and harden on the dish surfaces later. Plus it keeps your washing water cleaner.
- Use a spatula, spoon, or your fingers to remove stuck-on gunk-like sauces. Having your trash can right next to the sink makes cleanup easy.
- Lightly rinse if needed to help lift pieces of leftovers from plates directly into the garbage disposal.
- Wipe out any crumbs in your sink so they don’t stick to newly cleaned flatware.
With the chunky remnants now in the trash, it’s time to get your dishes fully submerged and soaking.
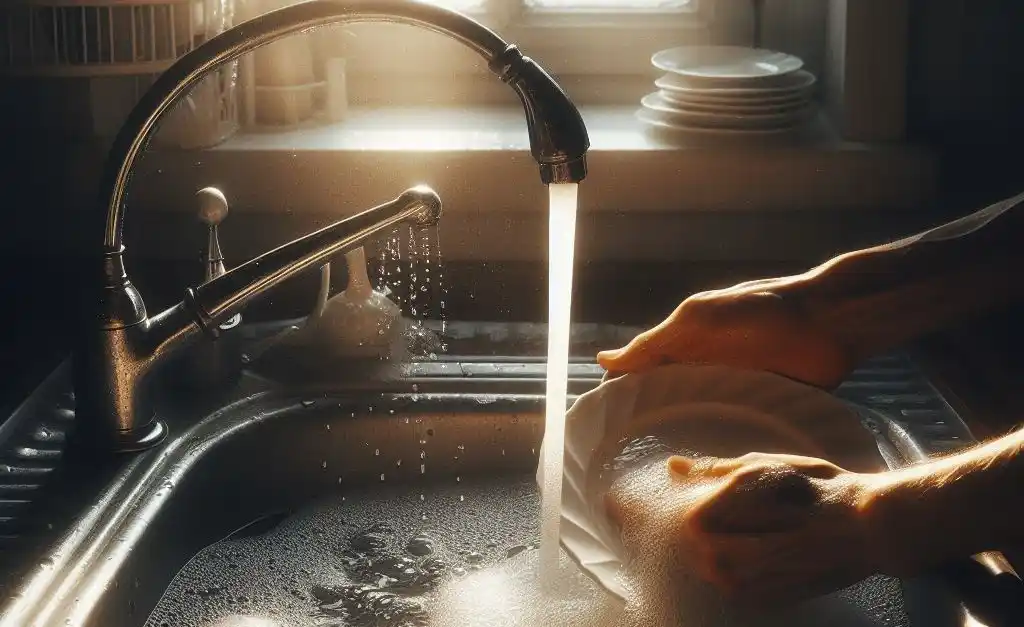
Step 3: Wash Your Dishes in Hot, Soapy Water
The magic combination of hot water plus dish soap helps power through grease and food residue. Follow these key scrubbing tips:
- Start with glassware, then silverware – The least dirty items like cups and flatware should hit the hot sudsy water first, followed by progressively dirtier cookware. This helps avoid cross-contamination.
- Let items soak for a few minutes – Soaking helps loosen persistent, caked-on food remnants so they are easier remove later with a sponge or brush.
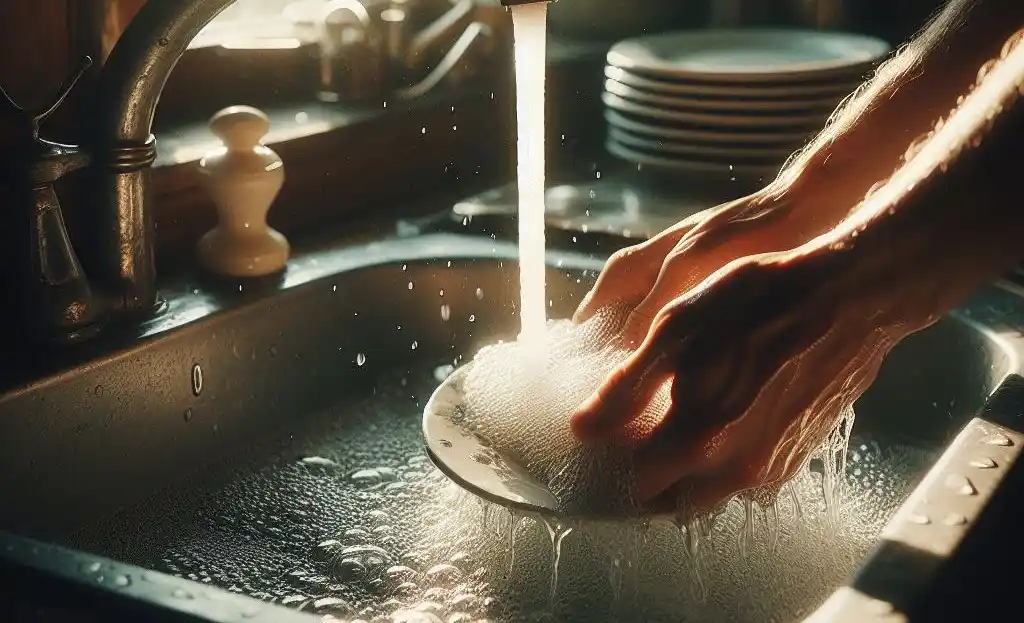
- Use a dishcloth, sponge, or scrubbing brush to wipe all surfaces, remembering hard-to-reach corners and crevices. Enlist some elbow grease for stuck-on messes!
- Change the water when it becomes extremely dirty or the suds disappear. Refill your sink with clean hot water and more dish soap as needed.
As you power through your mountain of dirty dishes, be sure you aren’t missing any grease in those small or hidden areas.
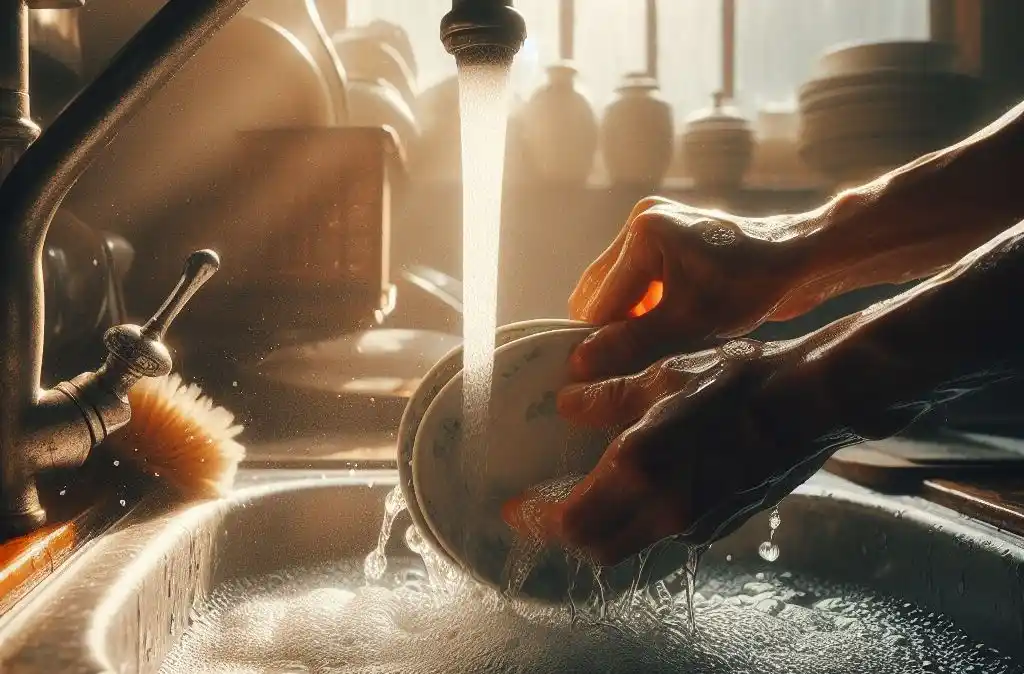
Step 4: Rinse Your Dishes Thoroughly
Once washing is complete, now comes the rinsing phase to remove any last traces of food plus all leftover suds. Follow this process:
- Transfer your soaped-up dishes one by one from your washing sink/basin into your empty rinsing area. Allow excess water to drip off.
- Use your faucet sprayer or slowly rinse by hand under steadily running water. Aim the forceful stream into any crevices.
- Rub away soap residue with your fingernail to ensure no film is left behind.
- Fully drain the excess water so that no pools are left behind once the dish hits your drying rack. Any standing water leads to spots once dry!
Repeat for all dishware, cookware and utensils until the mountain is done. The rinse step is key because leftover soap residue attracts more grime later!
Step 5: Allow Dishes to Completely Air Dry
Improper drying leads to streaks and water spots marring all your hard scrubbing work. Here is how to dry dishes the right way:
- Let dishes air dry on a rack if you have limited towel space. Angled racks allow excess water to drip off freely. Space items out so air circulates all around each piece.
- Use lint-free towels like flour sack towels to carefully dry delicate glassware by hand. Switch towel sides frequently so you aren’t just moving grease around.
- Oil cast iron cookware – Dry cast iron thoroughly after washing by hand, then apply a light layer of cooking oil before storing. This prevents rusting.
- Avoid towel-drying plasticware – Let plastic dishes and cutting boards air dry instead so they avoid scratching.
- Wipe counters and clean the sink once all rinsed dishes have been removed. Your whole workspace should sparkle!
Air drying prevents spots plus saves you time and effort instead of hand drying every single piece! Now let’s finish up.
Step 6: Inspect Dishes and Re-Wash If Needed
Once dry, your dishes should be sparkling clean and free of messy leftover residue.
But give each piece a quick inspection and light wipe down to confirm. If you spy any leftover greasy film or debris the initial wash missed, send the offenders through another wash and rinse cycle.
Don’t let subpar-cleaned dishes back into your cabinets!
Step 7: Put Dishes Away Until Next Use
Your gleaming glassware and silverware are ready to party! Finish by safely storing your dry dishes until the next meal or event:
- Carefully stack plates, bowls, and cups in neat piles according to size so they are easily accessible the next time you need them.
- Group serving platters and specialized items like pitchers or gravy boats together on a shelving unit.
- Sort cutlery into divided container sections. Grouping types of flatware also makes setting future place settings quicker.
- Stow delicate glassware like fine wine glasses or decorative dishes in the back of cabinets or high shelves away from heavy-use items.
By putting dishes back properly once fully dry, you have a system to efficiently find exactly what you need later on when the company calls. No more playing treasure hunts through chaotic cabinets!
Top Dishwashing Tips to Remember

After learning the proper technique for washing dishes by hand, keep these key dish-washing tips in mind:
- Always start washing with your cleanest glass and silverware items first to avoid cross-contamination.
- Hotter water helps cut through oil and grease faster from pans and plates.
- Don’t let soap residue remain on dishes after rinsing since it attracts bacteria.
- Plastic and non-stick items should air dry to prevent future scrubbing damage.
- If towel drying, use lint-free cloths to prevent streaking on glassware.
- Make sure cast iron pans are fully dried and lightly oiled before storage to prevent rust.
- Wash dishes as soon as possible after eating since dried-on food is harder to remove.
Why Should You Always Wash Your Dishes by Hand?
Even if you have a powerful dishwasher available, there are good reasons to do a sudsy, hands-on wash instead:
- Removes stuck-on food a dishwasher might miss without pre-rinsing or pre-soaking.
- Gentler on delicate glassware and vintage items that might get damaged in an automated machine wash.
- More sustainable since you end up using less energy by avoiding running the dishwasher multiple times.
- Dishware the dishwasher struggles to get clean like cooking pans, oil residue on plates, and sugary film on glasses comes clean easier by hand.
- Great way to unwind from the day or have a reflective quiet time as you work on the chore.
Dish Washing Conclusion and Next Steps
I hope after reading this comprehensive guide, you now feel fully equipped with the proper 7 steps for washing dishes by hand at home.
Remember to start with the cleanest glassware first, always use hot soapy water to cut grease, rinse away all soap residue, let dishes fully air dry, and inspect for spots before putting them away in organized cabinets.
Make dishwashing easier on yourself by tackling the chore right after meals and not letting food dry on plate surfaces. Investing in high-quality scrub brushes, sponges, and dish soaps also helps. Consider dishwashing gloves to keep your hands soft.
For more tips on removing stubborn baked-on food remnants from cookware and properly caring for cast iron pans, check out our advanced cleaning guides. Fostering good dishwashing habits keeps your collection of plates, silverware, delicate glassware, and heirloom pieces sparkling for years of memories around the dinner table!
FAQs
1. How hot should the water be for washing dishes?
Warm water is your friend! Aim for a temperature that’s comfortable for your hands (around 110°F to 120°F). Hotter water cuts through grease better, but be careful not to burn yourself.
2. Can I wash greasy dishes with cold water?
Cold water isn’t ideal for greasy dishes. It solidifies fat, making it harder to remove. However, if you’re washing delicate items like glasses or some cookware, cold water can be a good option. Just pre-rinse greasy items with warm water first.
3. What’s the best order to wash dishes?
Start with the least greasy items first, like glasses and silverware. Work your way up to progressively dirtier dishes like plates and pots. This prevents cross-contamination and ensures everything gets the attention it deserves.
4. How can I dry my dishes without water spots?
Air drying is the most energy-efficient option, but it can leave water spots. To minimize them, place dishes at an angle on a drying rack and let them air dry completely. You can also try using a microfiber towel to dry them off.
5. What’s a natural way to make my dishes shine?
Add a splash of vinegar to your final rinse water! Vinegar cuts through soap film and leaves your dishes gleaming like new. It’s also a great eco-friendly alternative to harsh chemicals.
Remember, these are just quick tips! For a more detailed guide, check out the “7 Steps to Sparkling Dishes” article. With a little organization and these helpful hints, you’ll be a dishwashing pro in no time!


